Complete Guide to Plasterboard: Systems, Applications and Key Points for a Professional Installation
Extensive technical resource on plasterboard (drywall) oriented to projects in Girona.
1.0 Introduction to Drywall: What is Plasterboard and why is it so popular?
Modern construction has been transformed thanks to the adoption of drywall systems, a methodology that has gained strategic importance both in new construction and renovations. Its popularity lies in its exceptional efficiency, speed of execution and lightness, factors that optimize deadlines and reduce loads on building structures.
In this context, the terms plasterboard, drywall and gypsum board are frequently used to describe the same construction system. It is essential to clarify that Pladur® is the name of a leading brand that, due to its widespread use in Spain, has become a generic term to designate gypsum board panels. Other important manufacturers, such as Placo, also offer similar systems. The base product, technically known as plasterboard, consists of a gypsum core between two layers of cellulose or cardboard, a design that gives it its characteristic properties.
The key advantages of these systems are their speed of installation compared to traditional masonry, their lightness, which significantly reduces the total weight of construction, and unparalleled versatility. They allow easy creation of partitions, dry lining (overlaying existing walls) and suspended ceilings, adapting to any design.
The success and durability of any plasterboard project depends on the use of a set of components designed to work in harmony, forming an integral system.
Quick summary
Plasterboard or drywall allows construction in dry conditions: less work, shorter waiting times and clean results. Ideal for partitions, dry lining and suspended ceilings in renovations and new construction.
2.0 Anatomy of a Plasterboard System: Essential Components
A professional and durable installation is not based solely on the choice of panel, but on understanding and correct use of a complete system of compatible components. The strategic importance of using quality materials designed to work together is crucial, as it ensures the final performance of the system in terms of structural stability, acoustic insulation and fire resistance.
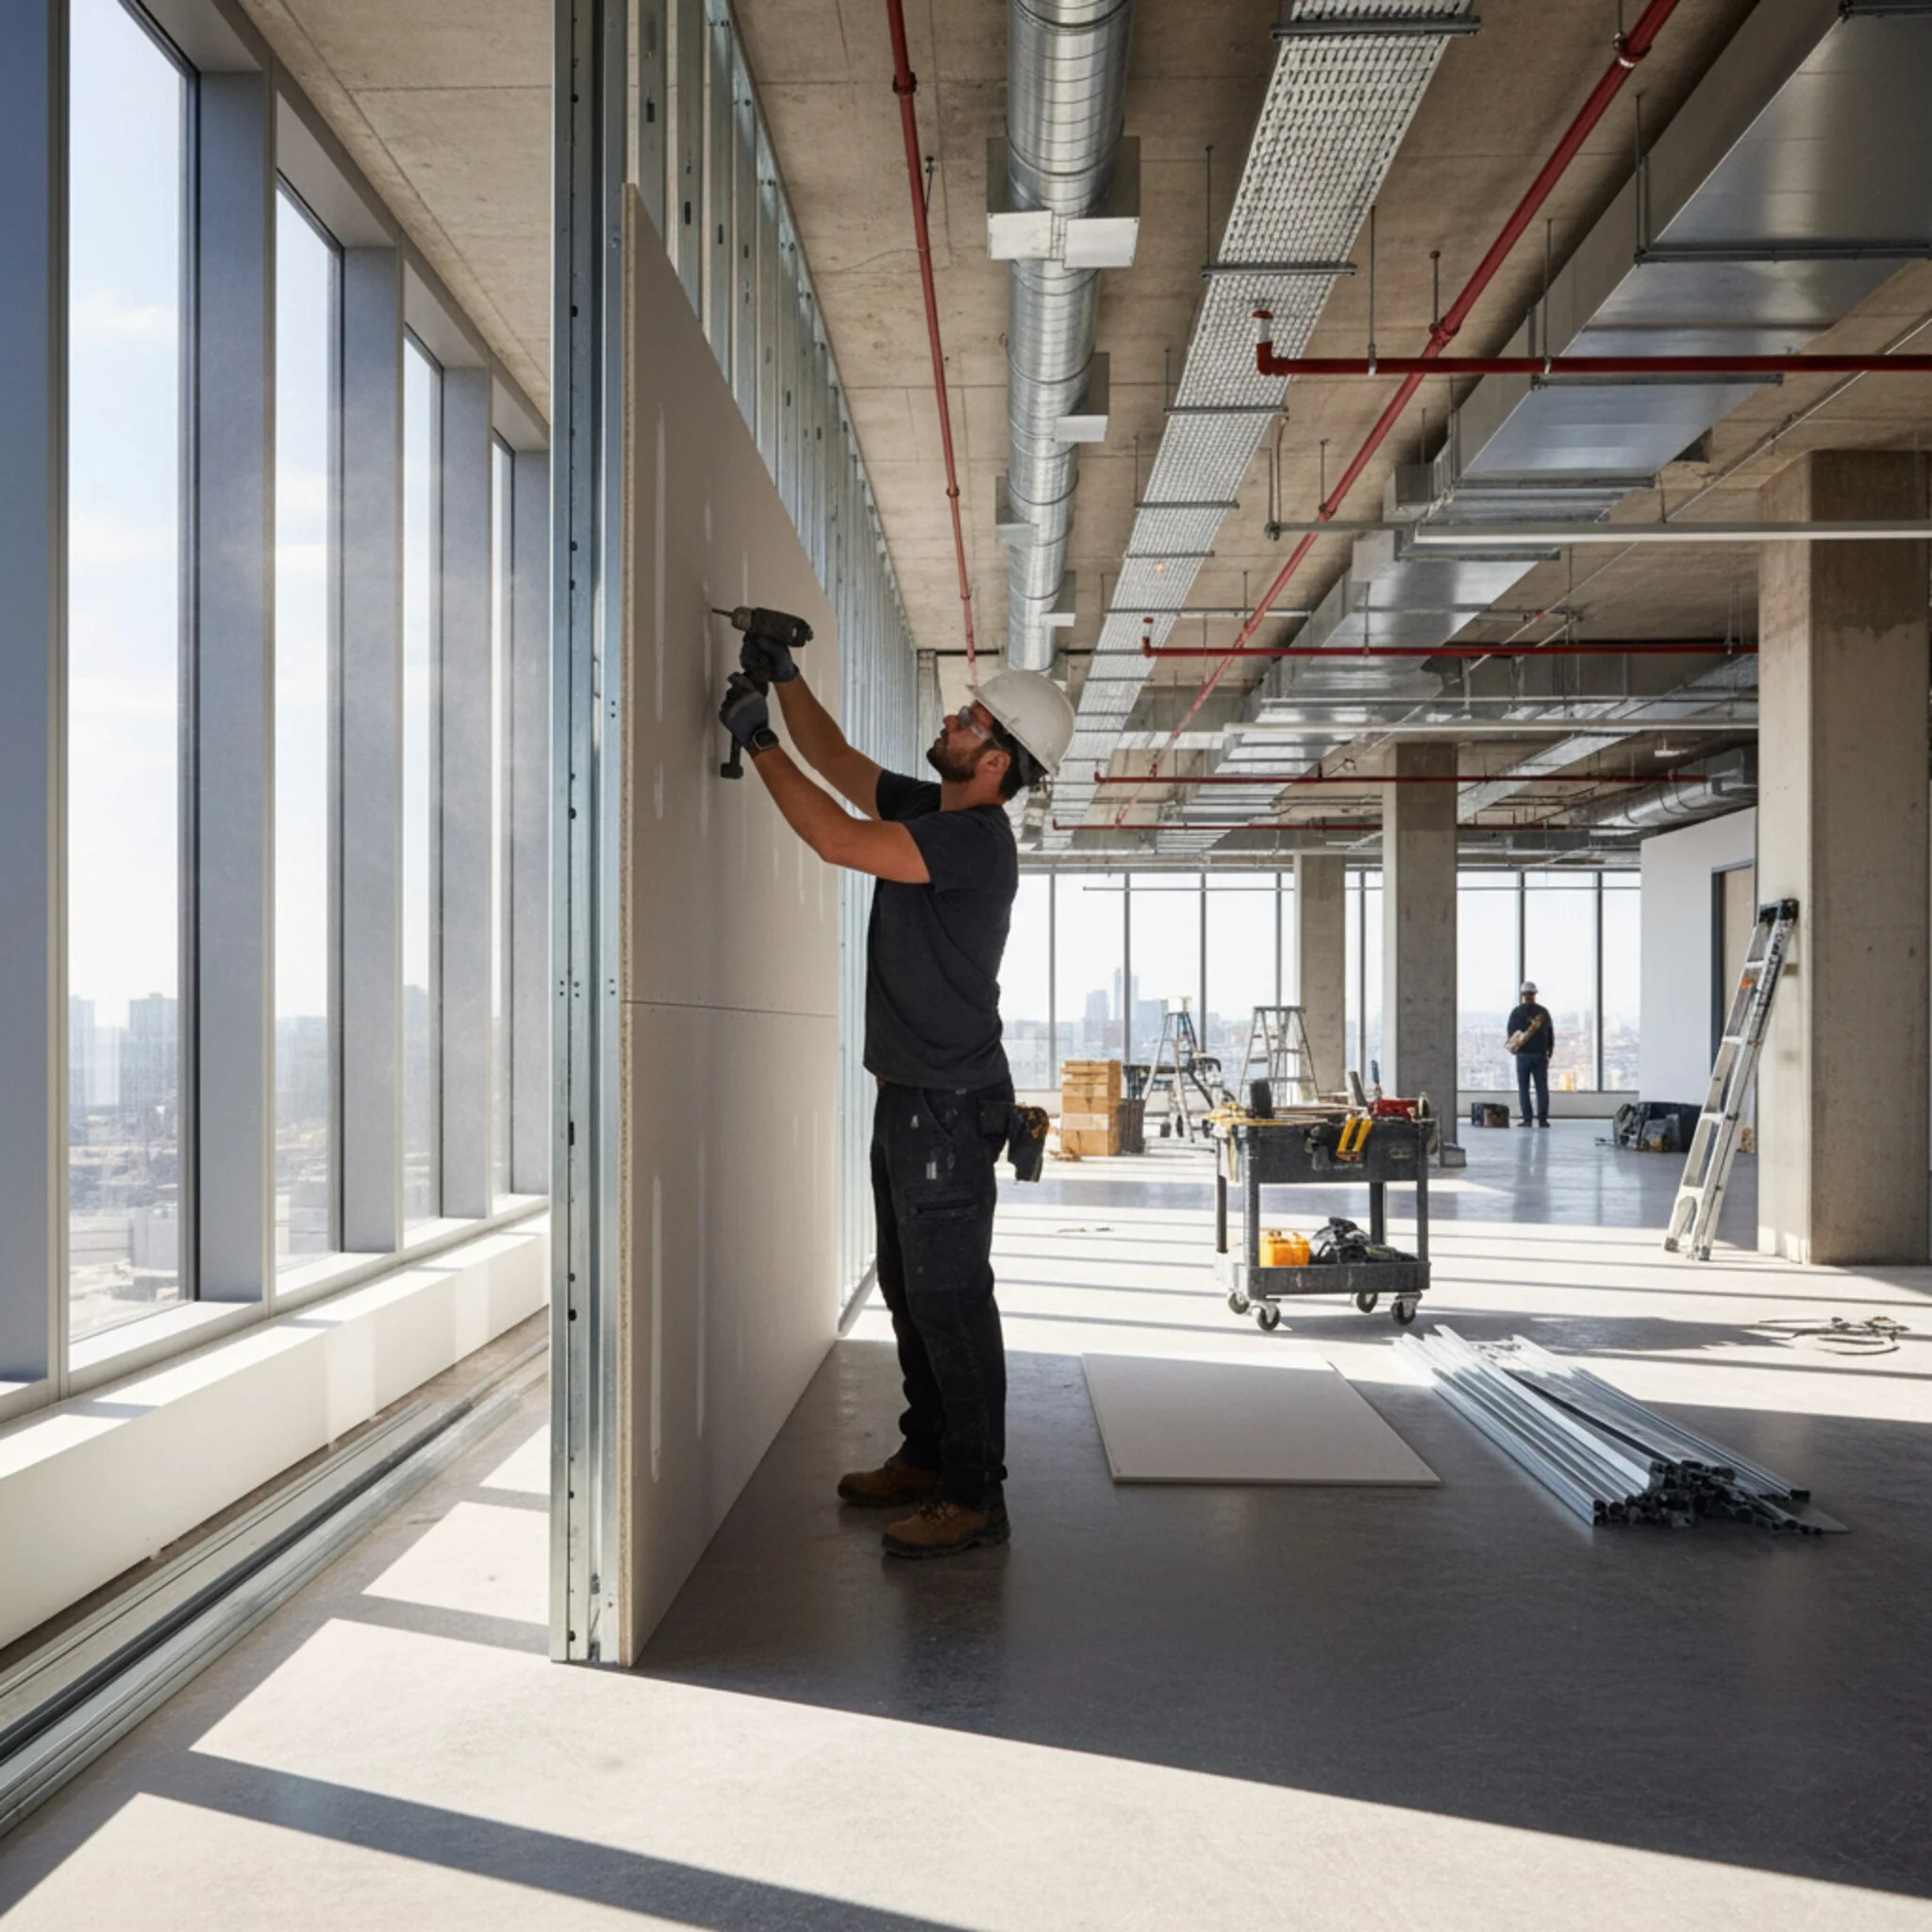
2.1 Gypsum Board Panels (GBP): The Heart of the System
The plasterboard panel is the main and most visible element of the system. Its basic composition consists of a gypsum core between two cellulose layers. Its main function is to create flat and continuous surfaces for walls, ceilings and claddings, ready to receive the final finish.
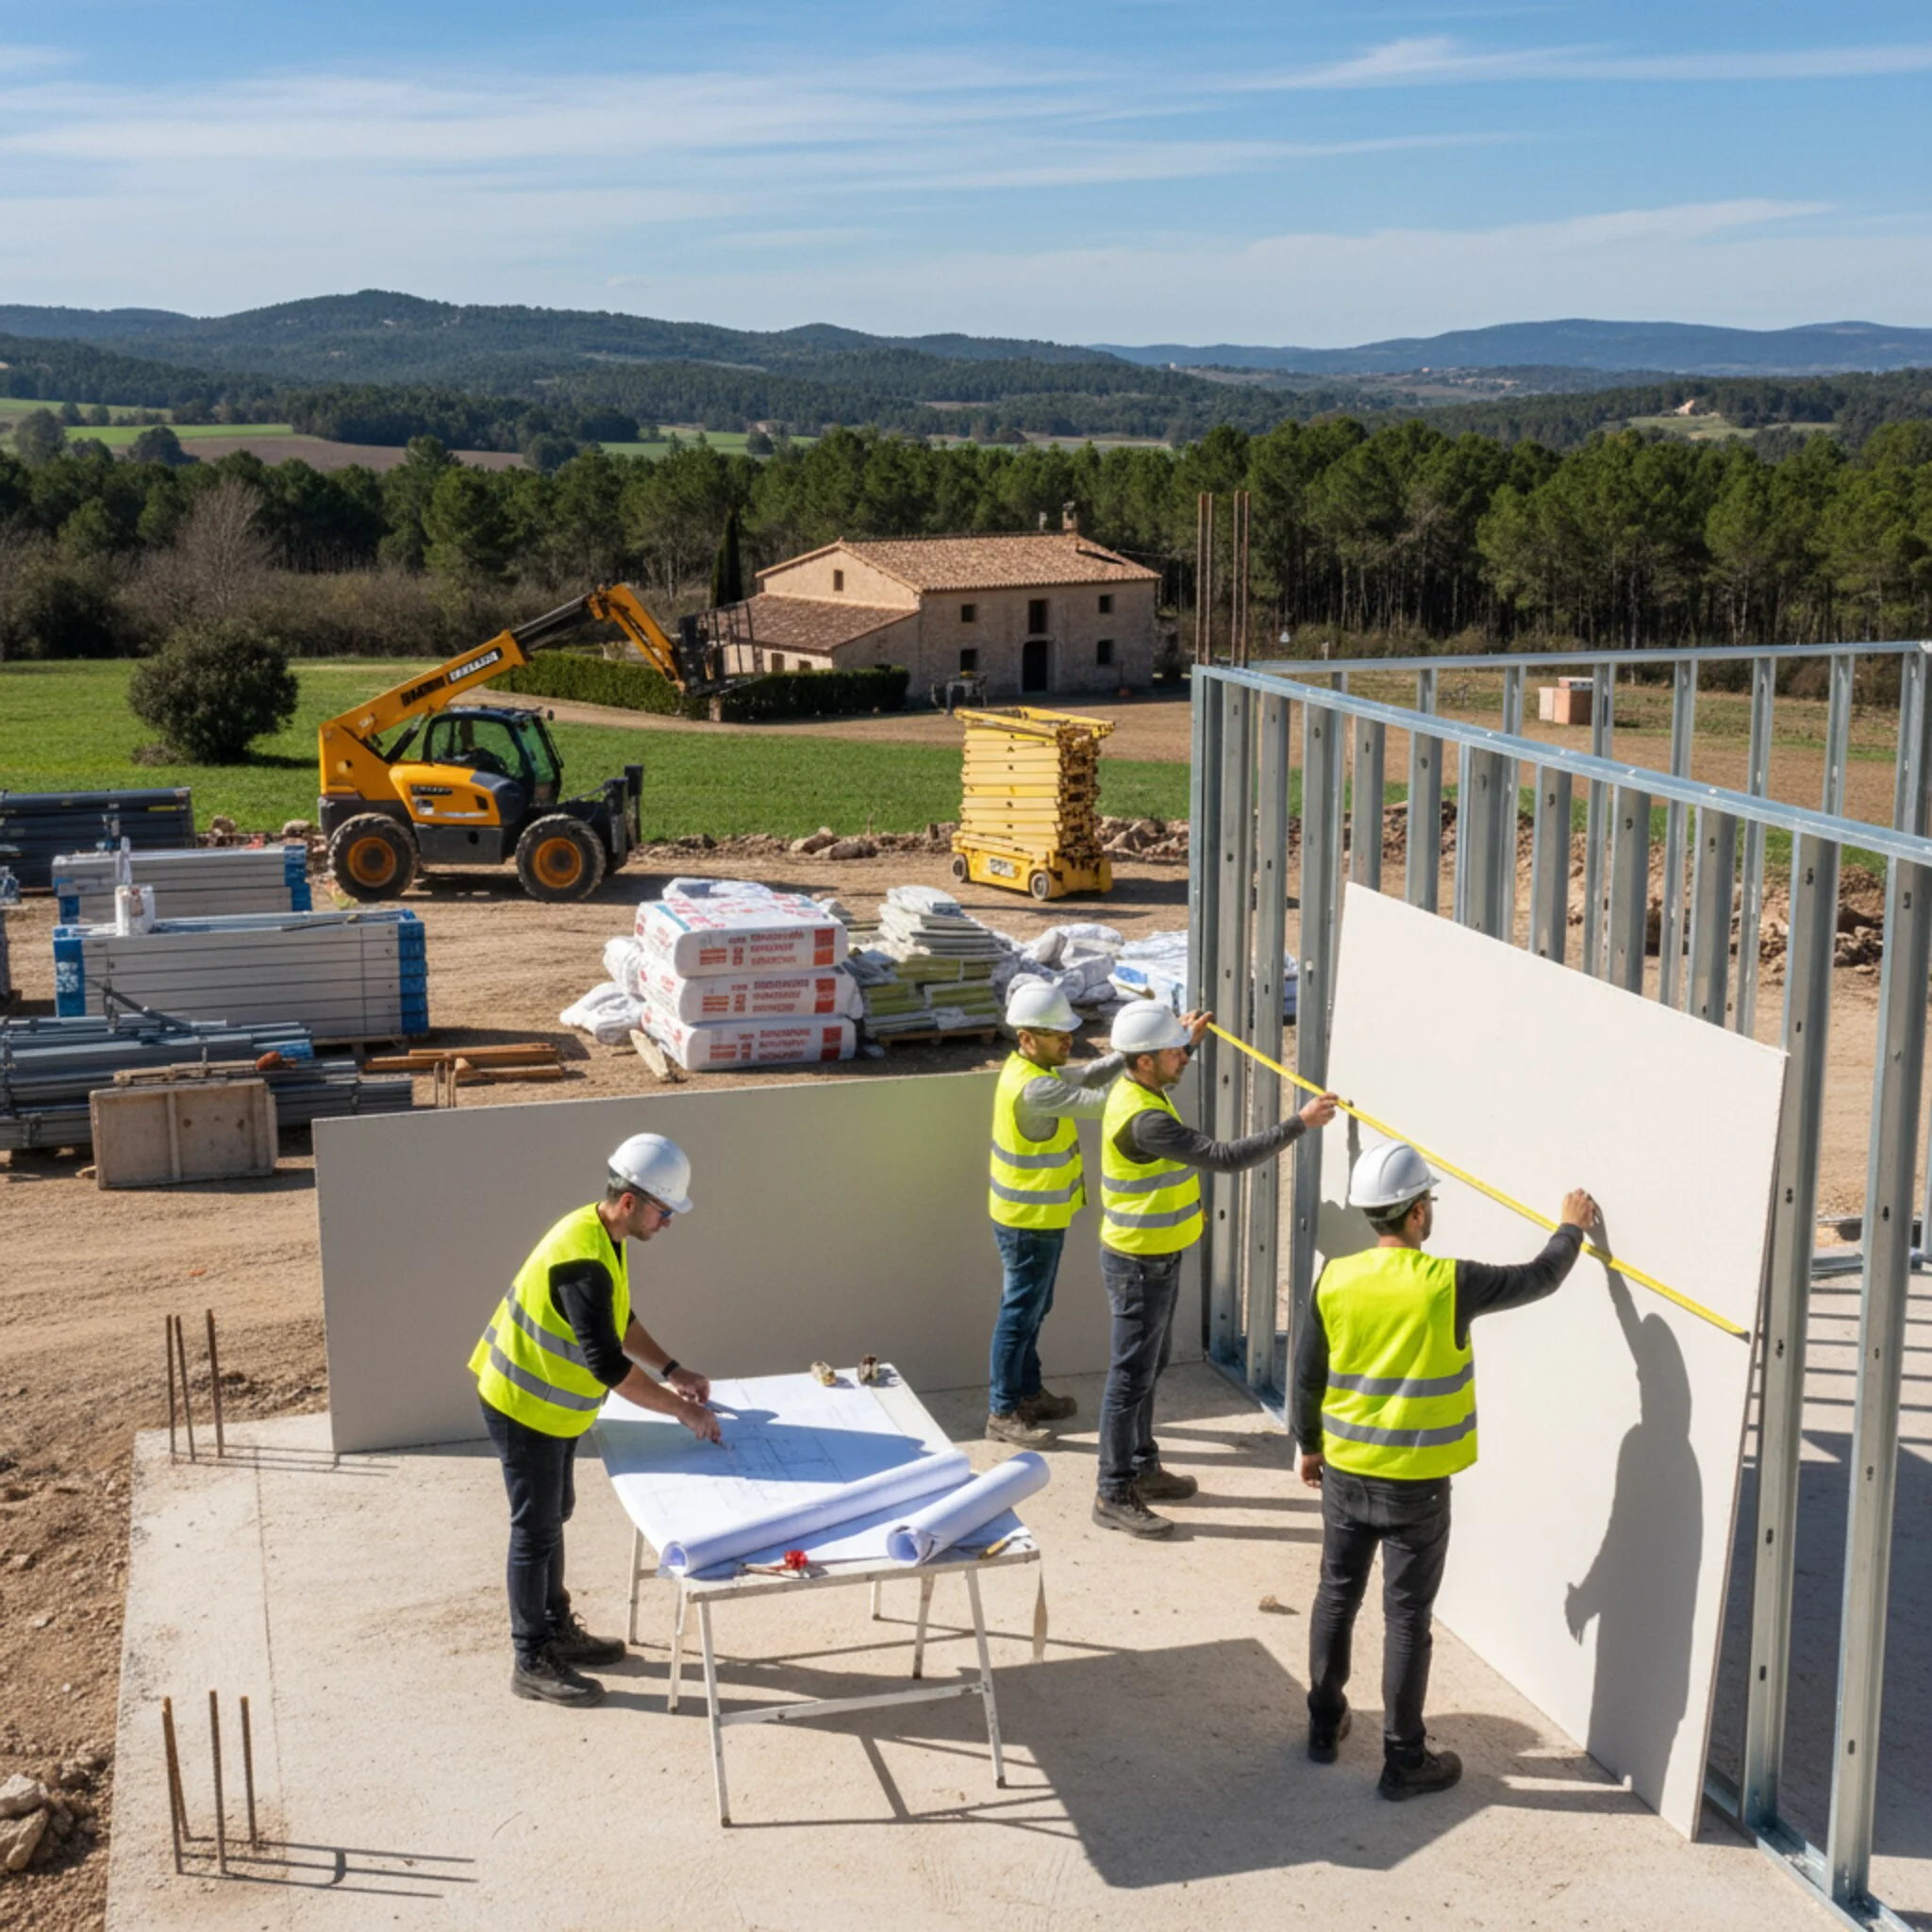
2.2 Metal Profiles: The Skeleton of the Structure
Galvanized steel profiles form the structural skeleton that supports the panels. Their correct installation is vital to ensure planimetry and stability of the whole. The main types are:
- Runners: Horizontal "U" shaped profiles fixed to floor and ceiling to house and align vertical elements.
- Studs: Vertical "C" shaped profiles fitted inside the runners and constituting the "posts" of the partition, on which the panels are screwed.
| Component | Function | Notes |
|---|---|---|
| GBP Panel | Visible surface of partitions, ceilings and dry lining | Ready for fine finishes (paint, paper, tile) |
| Runner (U) | Base/top where studs rest | Ensures alignment on floor and ceiling |
| Stud (C) | Vertical structure to screw panels | Defines rigidity and services passage |
| Joint tape | Mechanical reinforcement of joints | Paper or fiberglass |
| Joint compound | Treatment of joints and screws | Base + finish; setting or drying |
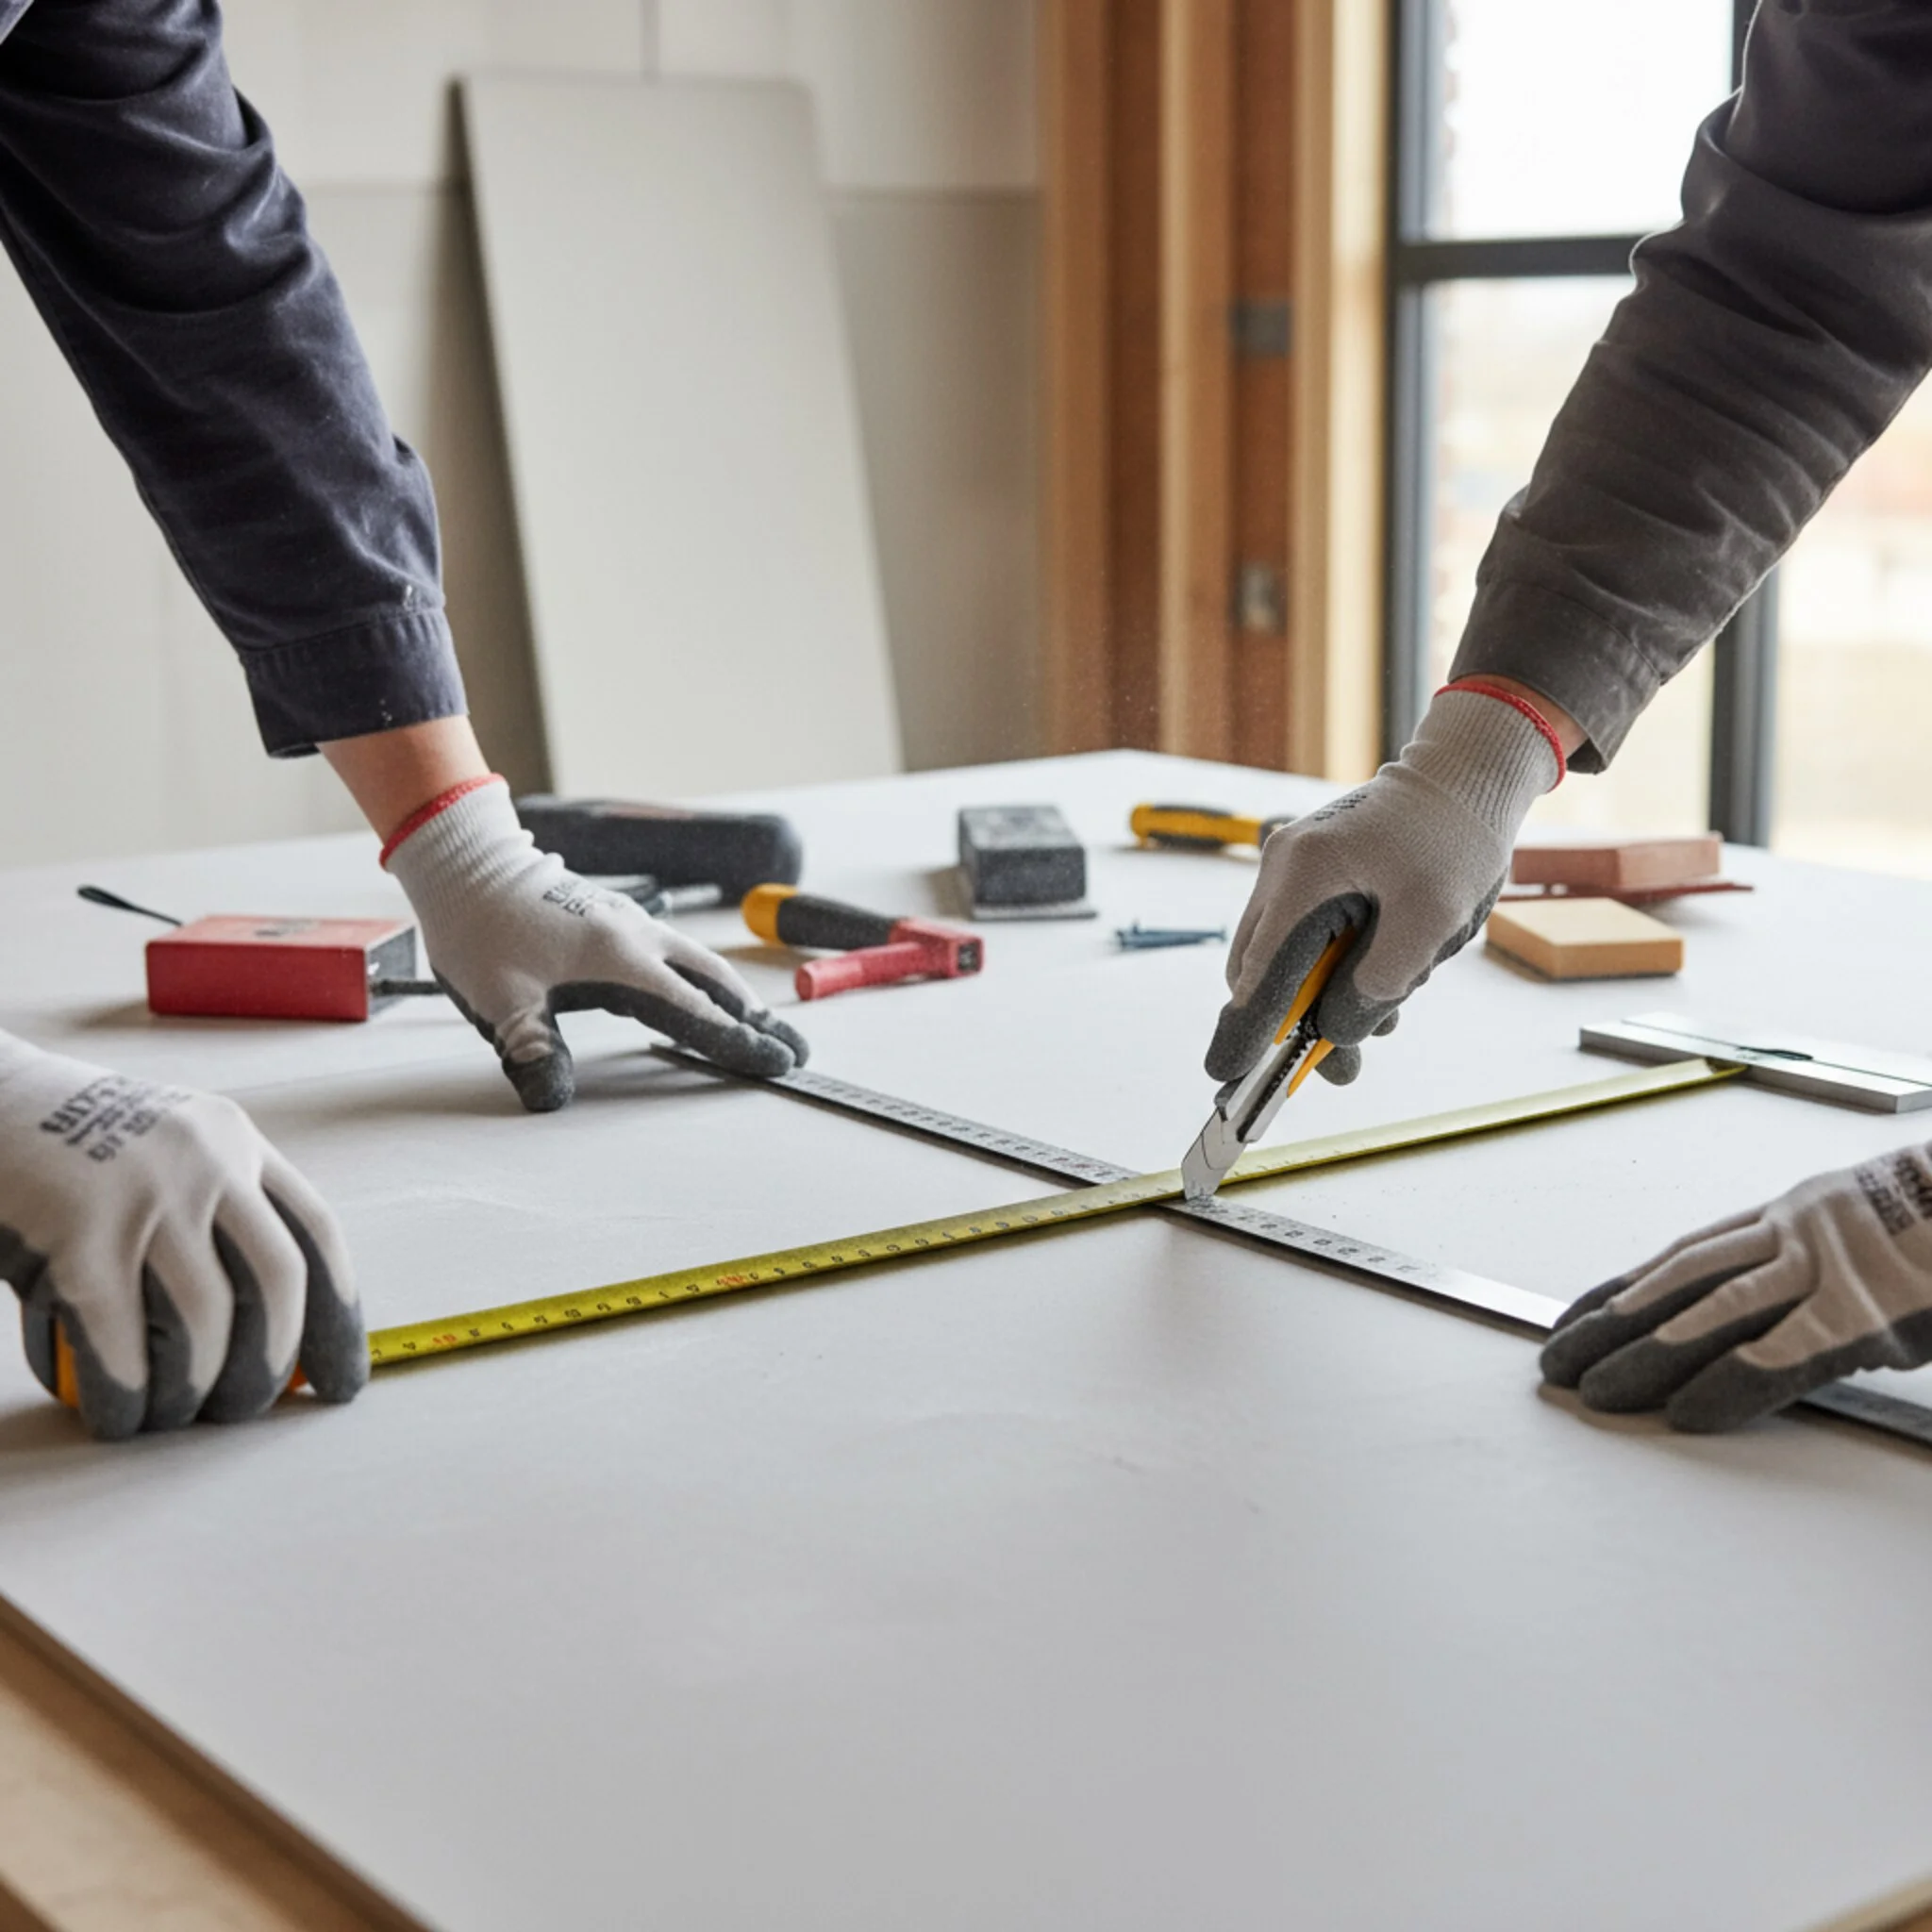
2.3 Joint Compound: The Key to a Perfect Finish
Joint compounds are specifically formulated compounds for the treatment of joints and covering screw heads. Their purpose is to create a monolithic, smooth and uniform surface, eliminating any trace of joints between panels and preparing the surface for paint or decoration. There are different types according to their formulation, such as setting compounds (which harden by chemical reaction) and drying compounds (which harden by water evaporation).
2.4 Joint Tape: The Indispensable Reinforcement
Joint tape plays a critical function: mechanically reinforcing the joints between plasterboard panels. This reinforcement is essential to prevent cracks due to structural movements, expansions or contractions from temperature changes. The two main types are:
- Paper tape: Offers high tensile strength and is embedded in wet compound.
- Fiberglass tape: Generally self-adhesive, facilitates faster application.
The true power of these systems is revealed in the diversity of specialized panels, each designed to meet specific project requirements.
3.0 Types of Plasterboard Panels: A Solution for Every Need
The versatility of drywall systems is largely due to the wide range of panels available. Choosing the correct type of panel is a strategic decision that directly impacts the durability, safety and comfort of the space. Each type of plasterboard panel is designed to offer specific performance according to environmental requirements.
- Standard Panel (Type N): General-purpose panel, white or ivory in color. Ideal for partitions, dry lining and ceilings in areas without special humidity or fire requirements.
- Moisture Resistant Panel (Type H1 / Green): Identifiable by its characteristic green color, this panel has been treated to reduce its water absorption capacity. It is the mandatory solution for areas with environmental humidity, such as bathrooms and kitchens.
- Fire Resistant Panel (Type F / Pink): Pink in color, its gypsum core is reinforced with fibers to improve its cohesion at high temperatures, increasing its resistance and stability against fire. It is used in areas requiring reinforced passive fire protection.
- Acoustic Insulation Panels (Type Fonic): Specifically designed to improve acoustic comfort, these panels have higher density that helps attenuate sound transmission between rooms. They are ideal for bedrooms, offices or any space where silence is a priority.
- High Durability Panels (Type CH / Magna): These panels offer mechanical resistance and surface hardness far superior to standard ones. They are the perfect choice for high-traffic areas or areas susceptible to impacts, such as corridors, schools, hospitals and commercial premises.
Once the appropriate panel has been selected, the next step to achieve a professional result is to rigorously follow the installation procedures.
| Panel type | Recommended use | Color |
|---|---|---|
| Standard (N) | Dry areas: partitions, ceilings and dry lining | White/Ivory |
| Moisture Resistant (H1) | Bathrooms, kitchens and damp areas | Green |
| Fire Resistant (F) | Areas with fire requirements | Pink |
| Acoustic (Fonic) | Bedrooms, offices, consulting rooms | — |
| High durability (CH/Magna) | Corridors, schools, commercial premises | — |
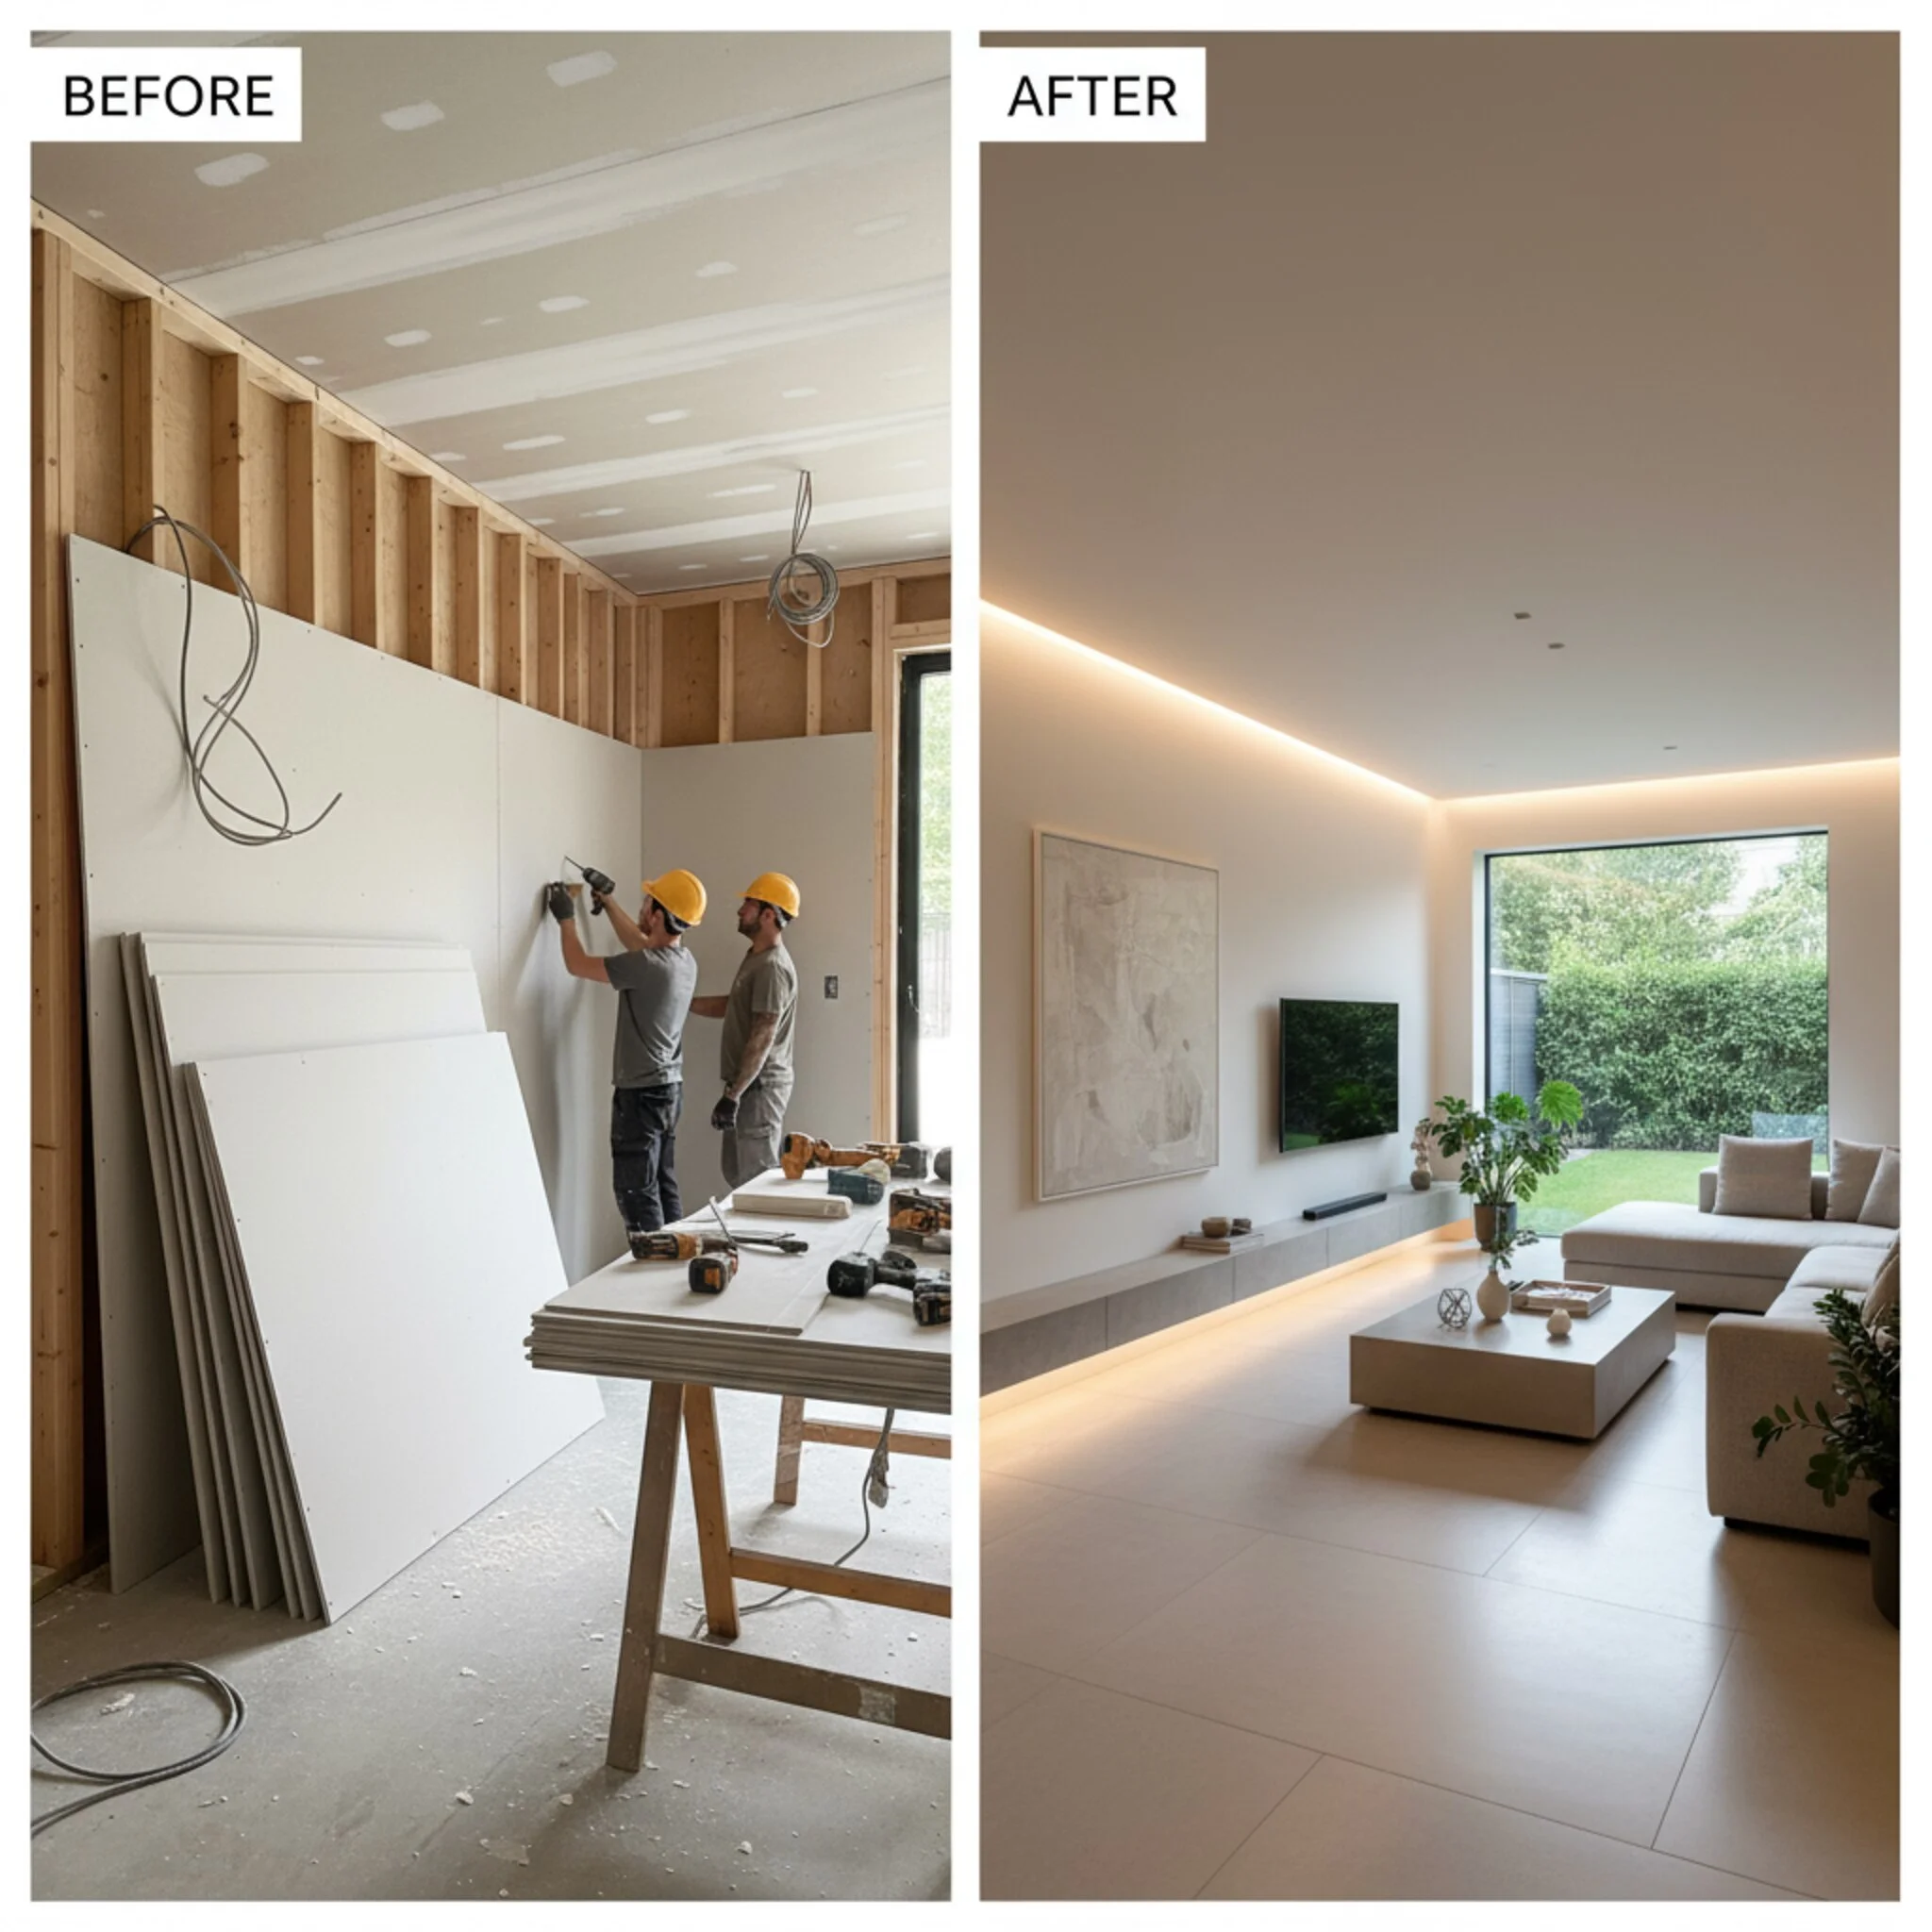
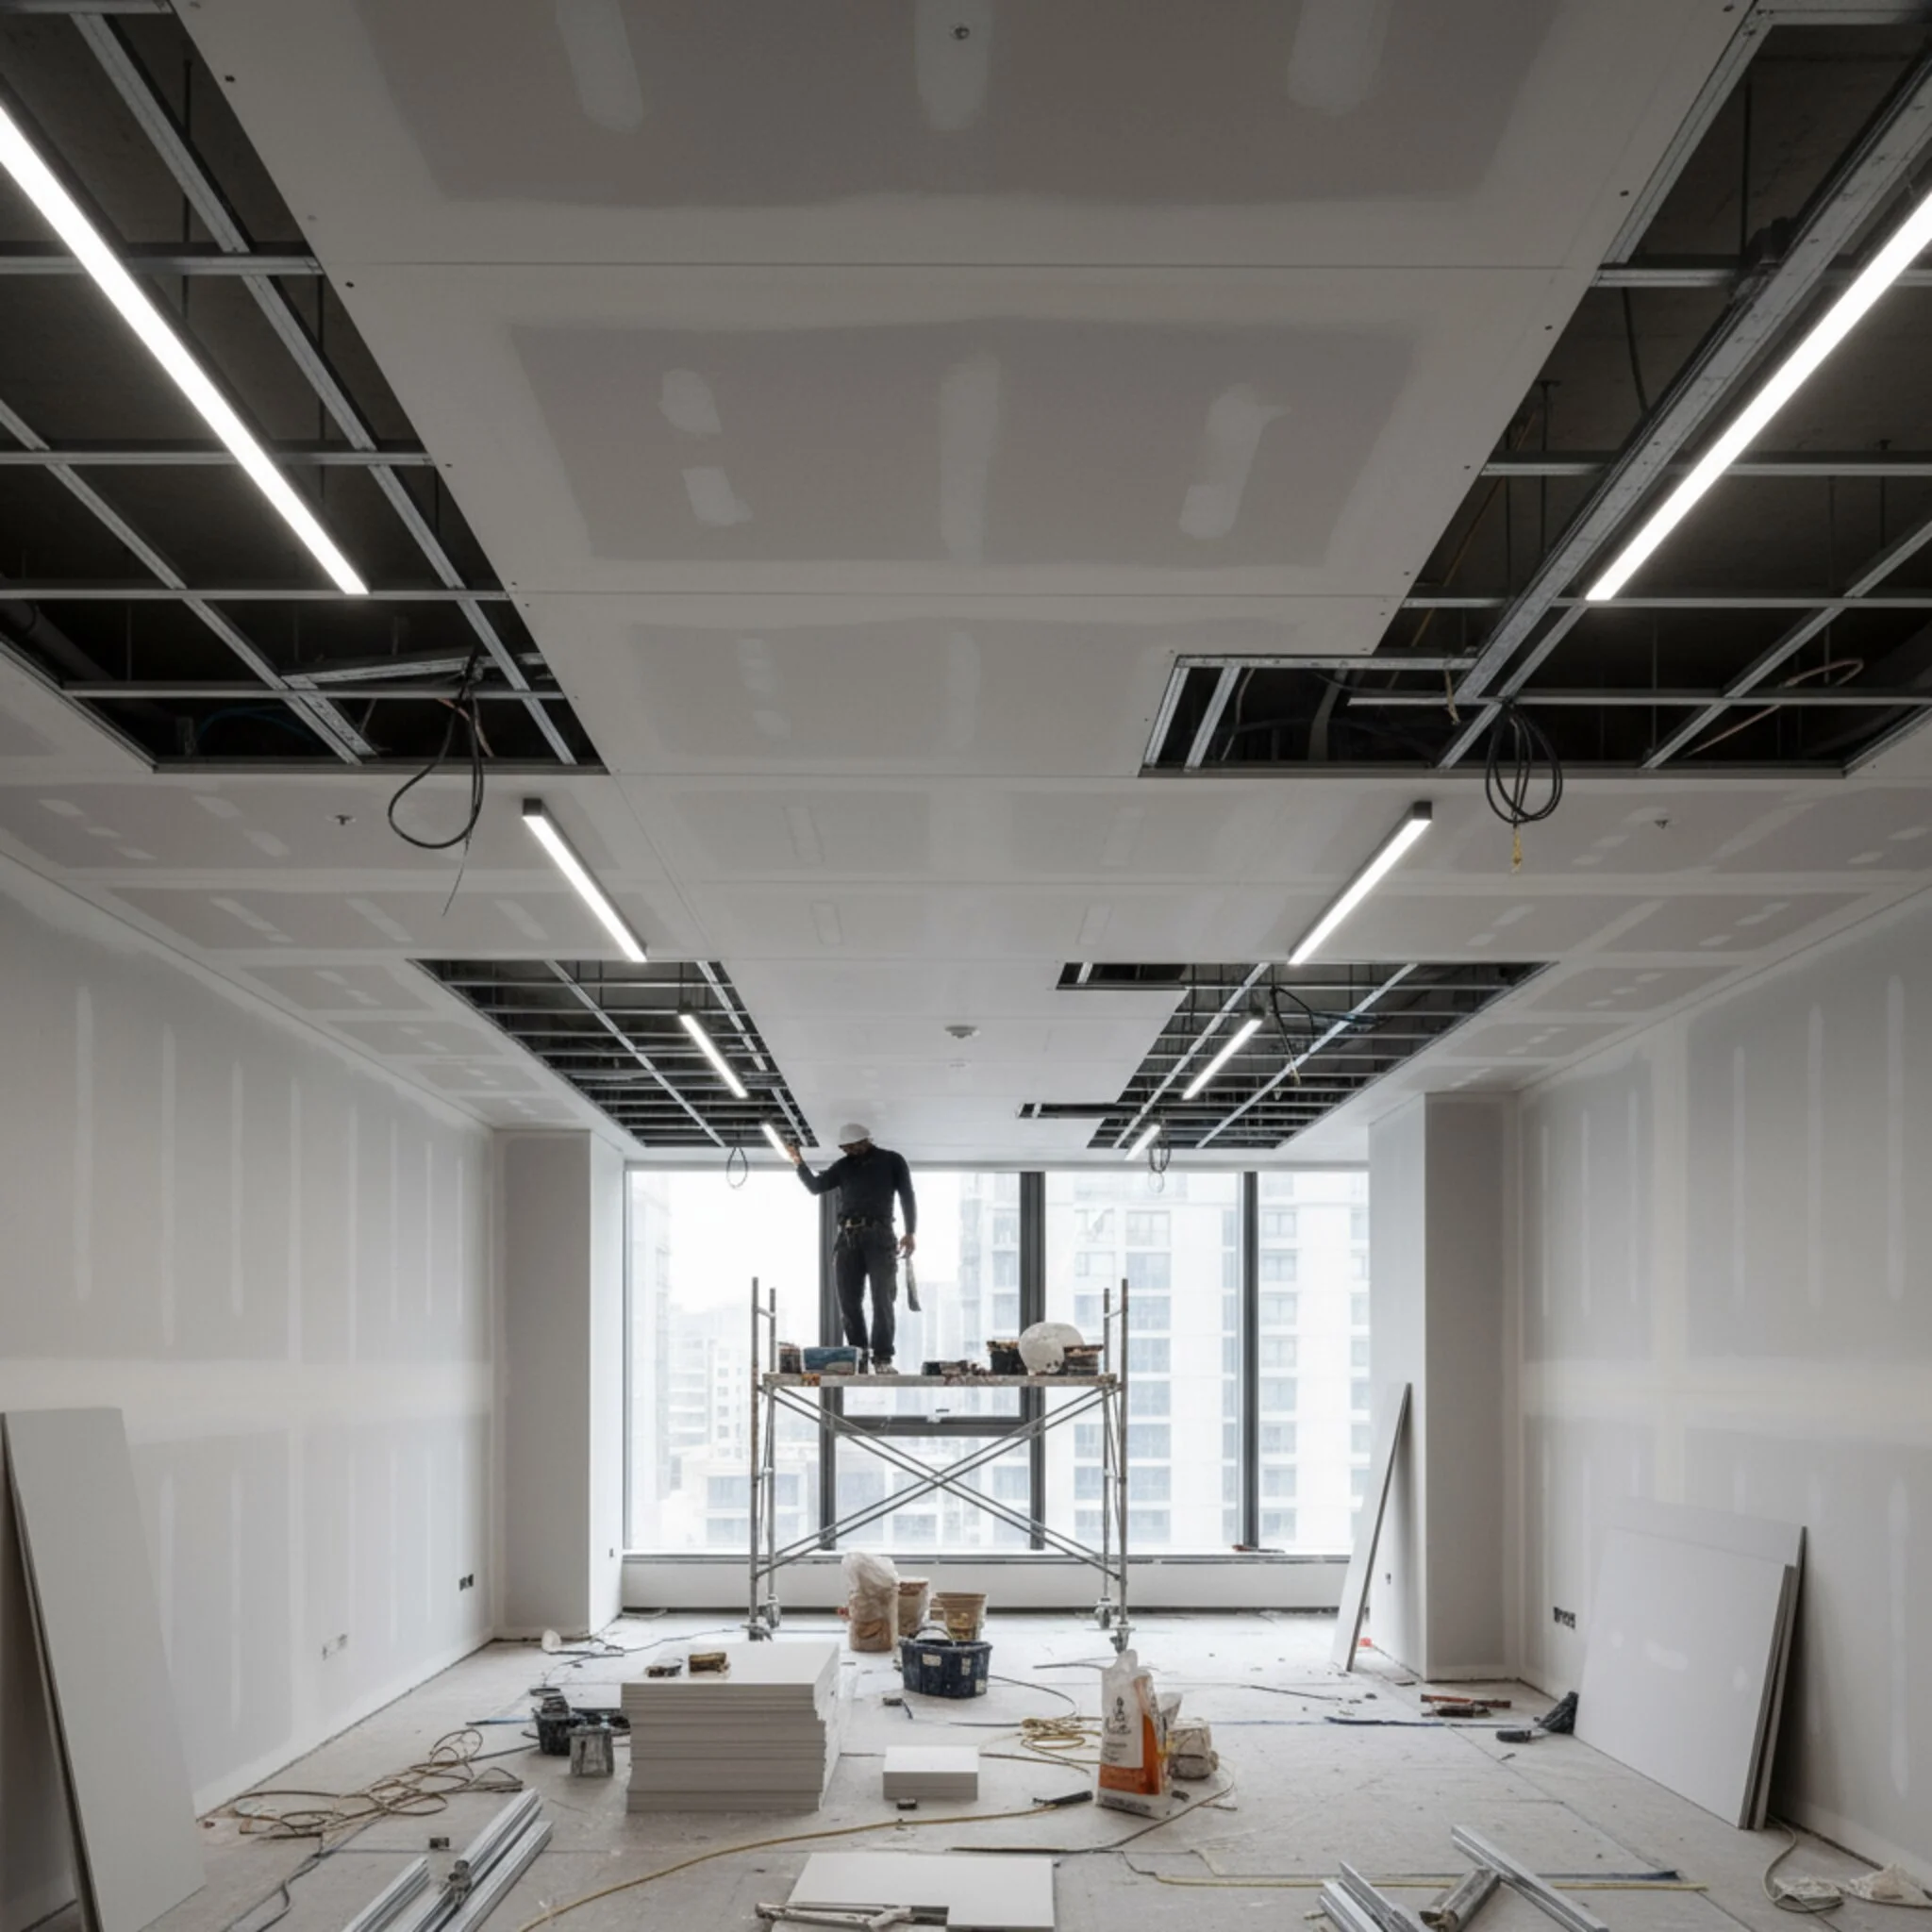
4.0 Installation Process: Key Phases for a Professional Result
Although drywall installation is notably faster than traditional construction methods, achieving a professional finish requires following a methodical sequence of well-defined phases. Omitting or rushing any of these steps can compromise aesthetic quality, durability and overall system performance in the long term.
- Layout and Structure: The process begins with layout, which involves precisely marking the location of partitions on the floor and ceiling. Next, the metal structure of runners and studs is assembled, using tools such as laser or bubble levels to ensure it is perfectly level and plumb.
- Panel Installation: Plasterboard panels are fixed to the metal structure using specific screws. It is crucial to respect the recommended spacing between screws (generally every 25-30 cm) and the correct screw depth: the screw head should be slightly recessed into the panel, without breaking the surface paper layer. An indispensable professional detail is that all panels must be elevated between 10 and 15 mm from the floor using manual or foot-operated levers. This step is non-negotiable to prevent water absorption from the floor by capillarity, one of the most common causes of long-term failures in the system.
- Joint Treatment: This is the most critical phase for the final finish. It consists of applying joint tape and several thin layers of compound over the joints between panels and over screw heads. The goal is to create invisible, resistant and durable joints that unify the surface.
- Sanding and Finishes: Once the compound has completely dried, gentle sanding is carried out to obtain a perfectly smooth and homogeneous surface. Before painting, it is essential to apply a primer to equalize the absorption capacity between the panel's cardboard surface and the compound in the joints, guaranteeing a uniform and stain-free paint finish.
Of all these phases, joint treatment is the one that requires the most skill and attention to achieve an impeccable result.
Professional tip
Raising panels 10–15 mm from the floor during assembly prevents capillary absorption and extends the system's useful life. It's a small detail with a big impact.
5.0 Joint Treatment: Techniques for an Invisible and Durable Finish
Joint treatment is undoubtedly the most determining step in achieving a professional and impeccable finish. Its strategic purpose goes beyond mere aesthetics: it consists of unifying multiple panels to form a monolithic, visually perfect and structurally solid surface, capable of resisting cracks over time.
There are different methods for carrying out this process, the choice of which may depend on the installer's preference or specific project requirements. The most common alternatives are compared below:
| Option | Components | Summary Process |
|---|---|---|
| Option 1 | Fiberglass Tape + Ready-Mixed Compound | Center the self-adhesive tape over the joint, press to fix it and cover it directly with ready-to-use compound, spreading it in a layer 18-20 cm wide. |
| Option 2 | Fiberglass Tape + Joint Adhesive + Base Compound | Center the self-adhesive tape, apply a specific adhesive over it with a brush and, subsequently, cover with prepared base compound. |
| Option 3 | Paper Tape + Base Compound | Apply a first thin layer of compound over the joint, seat the paper tape over the wet compound removing excess, and apply a second layer of compound for the finish. |
Regardless of the method chosen, the final goal is always the same: to create a perfectly invisible, durable and imperfection-free joint. To achieve this, it's not only important to know what to do, but also what mistakes to avoid.
6.0 Common Errors and How to Avoid Them: Keys to Excellence
Even using the best materials, incorrect installation can lead to a poor result. This section acts as a strategic guide for both professionals and amateurs to identify and prevent the most common failures, ensuring high-quality finish and long-term durability.
1. Poorly Leveled Structure
A metal structure that is not perfectly aligned, level and plumb will cause irregular surfaces and misaligned joints. To avoid this, it is essential to always use straight, quality profiles and verify the plumb and level of the structure before fixing the panels. The use of precision tools such as laser or bubble levels is essential to ensure correct alignment.
2. Poorly Executed Joints
Leaving joints between panels too open, narrow or uneven is a direct cause of future cracks and compound detachment. The solution is to maintain uniform spacing between panels, usually 3-5 mm, and always apply joint tape (paper or fiberglass) along with thin, well-spread layers of compound.
3. Incorrect Fixings
Using non-specific screws, placing them too far apart, or screwing them too deep (breaking the paper) or leaving them protruding, weakens the fixing and makes finishing difficult. The solution is to always use specific screws for plasterboard panels, ensuring that the head is slightly recessed, just below the paper surface, without breaking it.
4. Lack of Allowance for Expansion
In large continuous surfaces (long walls or ceilings), not providing expansion joints can cause cracks due to natural building movements or temperature changes. To prevent this, movement or expansion joints should be incorporated in large-dimension surfaces, always following applicable regulations.
5. Poorly Installed Insulation
Leaving gaps in insulation (such as mineral wool) or compressing it excessively between profiles creates thermal and acoustic bridges, completely nullifying its effectiveness. It is crucial to ensure that the insulating material fits perfectly between studs, covering the entire surface continuously and without gaps to guarantee optimal thermal and acoustic performance.
6. Not Respecting Technical Specifications
Using a standard panel in an area requiring specific performance, such as a bathroom or high-traffic corridor, compromises the durability and safety of the entire installation. The solution is to always select the correct type of panel according to use, as detailed in section 3.0 of this guide: moisture resistant (green) panels for bathrooms and kitchens, fire resistant (pink) panels for areas with fire protection requirements, and high durability panels for high-traffic areas.
In short, attention to detail, use of quality materials and following good installation practices are the factors that distinguish an amateur installation from a professional and durable work.